Acrylic nails have become a popular choice for those who want long-lasting, stylish, and durable manicures. However, as beautiful as they are, there comes a time when they need to be removed. Whether you want to give your natural nails a break or you’re looking to switch up your nail style, knowing how to take off acrylic nails properly is crucial.
Improper removal can lead to damage to your natural nails, making them weak and brittle. This comprehensive guide will walk you through every step of removing acrylic nails safely and effectively at home.
Understanding Acrylic Nails: What You Need to Know
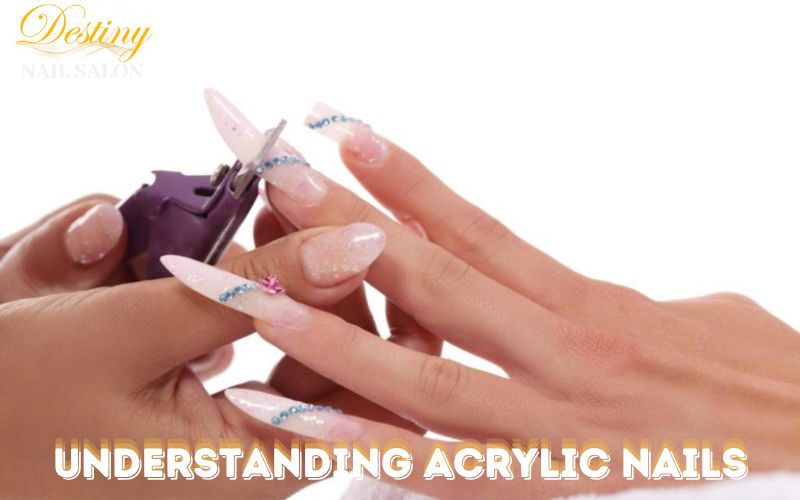
A blend of liquid monomer and powder polymer forms acrylic nails. When these two substances are combined, they create a hard, protective layer over your natural nails. This layer is shaped and buffed to resemble natural nails or extensions, offering an elegant look that can last for weeks with proper care.
What Makes Acrylic Nails Popular?
Acrylic nails have gained popularity for several reasons, including:
- Durability: Acrylics are known for their strength and can withstand daily activities without chipping or breaking easily.
- Versatility: They can be shaped into various styles and lengths, allowing for creative nail art.
- Cost-Effective: Compared to other nail enhancements, acrylics are relatively affordable and offer good value for money.
Potential Disadvantages Worth Considering
While acrylic nails offer many advantages, they also have some downsides:
- Damage to Natural Nails: If not applied or removed correctly, acrylics can damage your natural nails.
- Frequent Maintenance: Acrylic nails require regular fills to maintain their appearance and avoid lifting.
- Allergic Responses: Some individuals might have allergic reactions to the chemicals in acrylic nails.
Getting Ready for Acrylic Nail Removal
Before you start the removal process, gathering all the necessary tools and preparing your workspace is essential. This preparation will ensure a smooth and efficient removal process, minimizing potential damage to your natural nails.
Gather Your Supplies
To remove acrylic nails at home, you’ll need the following supplies:
- Acetone: 100% pure acetone is the most effective solvent for dissolving acrylic nails.
- Nail Clippers: Use them to trim down the length of your acrylic nails.
- Nail File: A coarse nail file will help remove the top layer of the acrylic.
- Cuticle Pusher: This will assist in gently pushing off the softened acrylic from your nails.
- Cotton Balls: These will be soaked in acetone and placed on your nails.
- Aluminum Foil: Use this to wrap the cotton balls around your nails.
- Bowl: A small bowl can be used for soaking your nails in acetone.
- Moisturizer or Cuticle Oil: These will help restore moisture to your nails and skin after removal.
Prepare Your Workspace
Creating a comfortable and well-ventilated workspace is important. Acetone has strong fumes, so choose a room with good air circulation. Lay down a towel or paper towels to protect your surface from spills. Ensure you have enough time set aside for this process, as it can take anywhere from 30 minutes to an hour.
Step-by-Step Guide: How to Take Off Acrylic Nails

Removing acrylic nails at home might seem daunting, but you can achieve salon-quality results with patience and the right technique. Follow these steps to safely take off your acrylic nails:
Step 1: Trim the Acrylic Nails
The first action in taking off acrylic nails is cutting them as short as possible. Use a pair of nail clippers to cut off the excess length. Be cautious not to cut too close to your natural nail to avoid any discomfort or damage.
Tips for Trimming:
- Cut in Small Sections: Instead of cutting the entire nail in one go, clip it in small sections to avoid putting too much pressure on your natural nail.
- Use Sharp Clippers: Dull clippers can cause the acrylic to crack, leading to potential injury.
Step 2: File the Top Layer
Once you’ve trimmed the nails, the next step is to file off the top layer of the acrylic. Use a coarse nail file to gently buff away the shiny surface of the acrylic nails. This assists in allowing the acetone to more effectively break down the acrylic.
Filing Techniques:
- Even Pressure: Apply even pressure while filing to avoid creating ridges or dents on the acrylic.
- Take Your Time: Be patient and avoid rushing this step to prevent damaging your natural nails.
Step 3: Soak in Acetone
The essential element for dissolving acrylic nails is acetone. There are two primary methods for soaking your nails in acetone:
Method 1: The Bowl Method
- Pour Acetone into a Bowl: Fill a small bowl with enough acetone to submerge your nails completely.
- Soak Your Nails: Place your fingers in the bowl and let them soak for 15–20 minutes.
- Check Progress: After soaking, gently scrape the acrylic with a cuticle pusher. If the acrylic doesn’t come off easily, continue soaking for 5–10 more minutes.
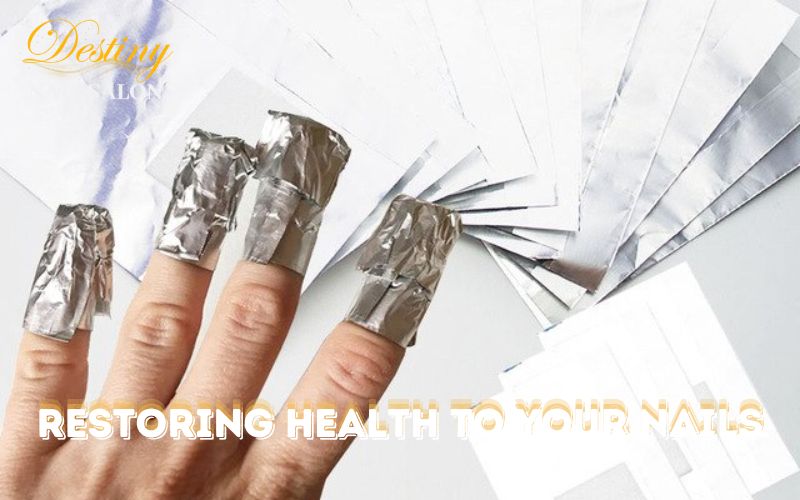
Method 2: The Foil Method
- Soak Cotton Balls: Dampen cotton balls with acetone and place them directly on your nails.
- Wrap with Foil: Use aluminum foil to wrap the cotton balls securely around your nails. This helps to keep the acetone in contact with the acrylic.
- Wait Patiently: Let your nails sit for 20–30 minutes before checking if the acrylic has softened.
Safety Tips:
- Protect Your Skin: Apply petroleum jelly around your nails to protect your skin from the drying effects of acetone.
- Avoid Open Flames: Acetone is highly flammable, so keep it away from heat sources or open flames.
Step 4: Carefully Take Off the Acrylic
After soaking, the acrylic should be soft and easy to remove. Employ a cuticle pusher to carefully remove the softened acrylic from your nails. If you encounter resistance, soak your nails again rather than forcefully scraping the acrylic off.
Removing Tips:
- Work Slowly: Take your time and be gentle to avoid damaging your natural nails.
- Repeat if Necessary: If some acrylic remains, repeat the soaking process until it comes off easily.
Step 5: Buff and Shape Your Natural Nails
Once all the acrylic is removed, it’s time to buff and shape your natural nails. Shape your nails to your preferred length and smooth rough edges with a nail file.
Buffing Techniques:
- Use a Fine Grit File: A fine grit file will help smooth the surface of your nails without causing damage.
- Polish Lightly: Avoid over-buffing, as this can thin out your natural nails.
Aftercare: Restoring Health to Your Nails
After removing acrylic nails, your natural nails may feel weak or brittle. Proper aftercare is essential to restore their health and strength.
Hydrate and Moisturize
Acetone can be very drying, so it’s important to hydrate and moisturize your nails and the surrounding skin. Apply cuticle oil to your nails and massage it into the cuticles. Follow up with a nourishing hand cream to keep your skin soft and hydrated.
Moisturizing Tips:
- Use Natural Oils: Oils like jojoba, coconut, or almond oil can deeply moisturize your nails.
- Apply Regularly: Make moisturizing a part of your daily routine to keep your nails healthy.
Strengthening Treatments
Consider using strengthening treatments to help your nails recover. There are various nail strengtheners and treatments available that can help repair and fortify your natural nails.
Strengthening Suggestions:
- Keratin Treatments: Products containing keratin can help rebuild the structure of your nails.
- Biotin Supplements: Biotin is known to promote nail health and strength.
Give Your Nails a Break
After removing acrylics, it’s beneficial to give your nails a break from any enhancements. Allow them some time to recover and grow naturally before applying new nail extensions or polish.
Break Tips:
- Avoid Immediate Reapplication: Give your nails at least a week or two to recover before applying new acrylics.
- Go Natural: Consider leaving your nails bare or applying a clear strengthening polish for a natural look.
Troubleshooting Common Issues
Even with careful removal, you may encounter some common issues when taking off acrylic nails. Here are some tips to troubleshoot and resolve these problems effectively.
Acrylic Not Coming Off Easily
If the acrylic is not coming off easily after soaking, it might be due to insufficient soaking time or the thickness of the acrylic layer.
Solutions:
- Extend Soaking Time: Increase the soaking time by 5–10 minutes and check again.
- File More: Use the nail file to remove more of the top layer before soaking again.
Damage to Natural Nails
If you notice damage to your natural nails after removing acrylics, it might be due to improper technique or excessive force.
Prevention Tips:
- Be Gentle: Always use gentle pressure when pushing off acrylic and avoid scraping aggressively.
- Seek Professional Help: If you’re unsure about removing acrylics at home, consider visiting a professional nail technician for assistance.
Acetone Sensitivity
Some individuals may experience sensitivity or allergic reactions to acetone, resulting in redness, itching, or irritation.
Alternatives:
- Non-Acetone Removers: Consider using non-acetone nail polish removers, although they might take longer to dissolve acrylics.
- Consult a Professional: If you have a known sensitivity, it’s best to seek professional help for removal.
Caring for Your Nails After Removing Acrylics
Maintaining healthy nails after acrylic removal requires a combination of proper care, patience, and the right products. Here’s how you can ensure your nails remain strong and beautiful.
Regular Nail Care Routine
Establishing a regular nail care routine will help keep your nails healthy and prevent future damage.
Essential Steps:
- Keep Nails Clean: Regularly clean your nails to prevent infections and promote healthy growth.
- Trim Regularly: Trim your nails to maintain a neat appearance and avoid breakage.
- File Carefully: Always file in one direction to prevent splitting and weakening.
Use Nail-Friendly Products
Choosing the right products for your nails can make a significant difference in their health and appearance.
Recommended Products:
- Nail Hardener: Helps strengthen nails and prevent breakage.
- Gentle Nail Polish Remover: Opt for removers that are acetone-free and enriched with vitamins.
Protect Your Nails
Taking steps to protect your nails will minimize damage and keep them looking their best.
Protective Measures:
- Wear Gloves: Use gloves when doing household chores or working with harsh chemicals.
- Avoid Biting: Resist the urge to bite your nails, as this can cause damage and weaken them.
Further Advice for a Successful Removal
While the basic steps for removing acrylic nails have been covered, here are some additional tips to enhance your experience and ensure success.
Patience is Key
Acrylic nail removal is not a process to rush. Patience and careful attention to detail will yield the best results and preserve your natural nails’ integrity.
Tips for Patience:
- Set Aside Time: Ensure you have enough time to complete the process without feeling rushed.
- Stay Relaxed: Enjoy the process as a form of self-care and relaxation.
Get Professional Assistance if Required
If you’re unsure or uncomfortable with removing acrylic nails at home, don’t hesitate to seek professional assistance. Nail technicians have the expertise and tools to safely remove acrylics without causing damage.
When to Seek Help:
- Stubborn Acrylics: If the acrylic is not coming off easily, a professional can help avoid damage.
- Acetone Sensitivity: If you’re sensitive to acetone, a nail technician can use alternative methods.
Enjoy Your Natural Nails
After removing your acrylics, take the opportunity to enjoy your natural nails. Experiment with different nail care products and polishes to keep them looking healthy and beautiful.
Natural Nail Care:
- Experiment with Colors: Try new nail polish colors or designs for a fresh look.
- Focus on Health: Prioritize nail health by following a regular care routine and using quality products.
Reward Yourself
Taking off acrylic nails is a task that requires time and effort. Reward yourself for a job well done by pampering your nails and treating yourself to some self-care.
Reward Ideas:
- Nail Spa Day: Treat yourself to a DIY nail spa day at home or visit a salon for a professional manicure.
- New Nail Products: Purchase some new nail care products or polishes as a treat.
Engage with the Learning Process
Removing acrylic nails at home is an opportunity to learn more about nail care and maintenance. Embrace the experience and use it to enhance your nail care knowledge.
Learning Points:
- Understand Your Nails: Learn about your nails’ unique needs and how to care for them.
- Try New Techniques: Experiment with different techniques and products to find what works best for you.
Stay Informed
Stay informed about the latest nail care trends, products, and techniques to keep your nails healthy and stylish.
Information Sources:
- Nail Care Blogs: Follow blogs and websites dedicated to nail care and beauty.
- Social Media: Join nail care communities on social media for tips and inspiration.
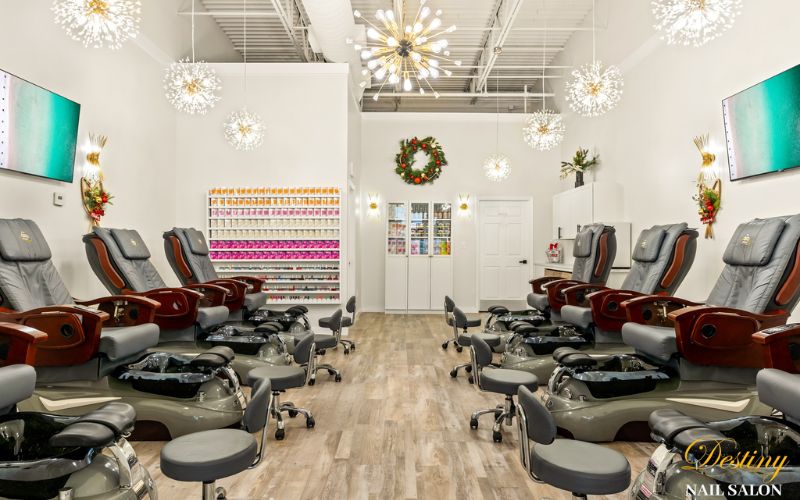
Visit Destiny Nail Salon for Professional Acrylic Nail Removal
If you’re looking for a reliable and professional place to remove your acrylic nails, Destiny Nail Salon is the perfect destination. Located at 36150 Emerald Coast Pkwy STE 109, Destin, FL 32541, we provide exceptional services that ensure the health and beauty of your natural nails.
Our Professional Acrylic Nail Removal Process
At Destiny Nail Salon Emerald Coast Pkwy, our skilled technicians follow a meticulous process to remove acrylic nails safely and effectively:
- Assessment of Nail Condition: Our technicians will begin by assessing the condition of your nails to determine the most suitable removal technique, ensuring minimal damage to your natural nails.
- Trimming and Filing: We use specialized nail clippers and files to carefully trim and file down the acrylic nails, making them more manageable for the acetone soak.
- Acetone Soak: Your nails will be soaked in high-quality acetone from leading brands, which helps to gently break down the acrylic material without harming your natural nails.
- Gentle Removal: Once the acrylic is softened, our technicians will gently remove it using precision tools, ensuring a pain-free experience.
- Post-Removal Care: After removing the acrylic nails, we apply nourishing treatments from renowned brands such as OPI, CND, and Gelish to hydrate and strengthen your natural nails.
Cutting-Edge Equipment and Superior Products
At Destiny Nail Salon, we utilize state-of-the-art equipment and top-of-the-line products to ensure a high standard of service. All our tools are meticulously sterilized and sanitized, adhering to the highest safety standards for your peace of mind.
Affordable Pricing
We understand that affordability is important when choosing beauty services. Destiny Nail Salon is proud to offer professional acrylic nail removal at competitive prices, making quality nail care accessible to everyone.
Visit us at 36150 Emerald Coast Pkwy STE 109, Destin, FL 32541, and let our experienced team provide you with a superior nail removal experience.